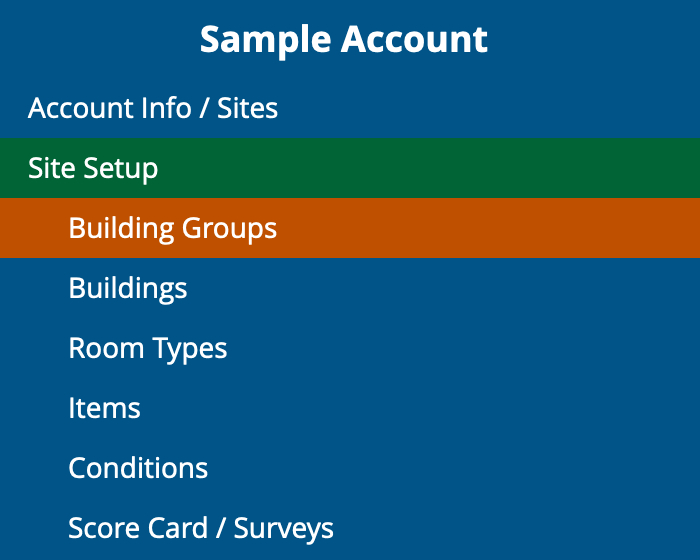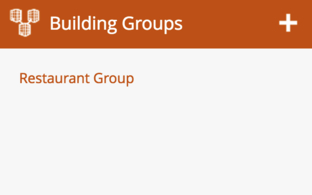

Then, click on the + icon on the “Building Groups“ panel and give your building group a name.


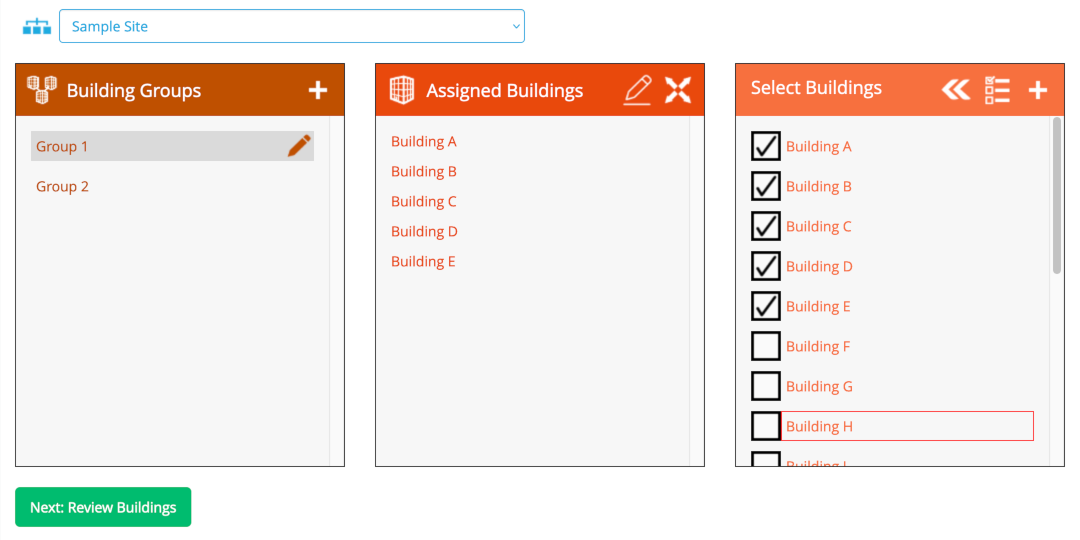
After creating a building group, you may click on its name; a “pencil” icon should show up to the right of the building group’s name (click on the pencil to rename the group if needed). The “Assigned Buildings” panel will also show the list of buildings currently assigned to the group; click on the pencil icon in that panel to edit the building list (check or uncheck individual entries in “Select Buildings” as needed). When done, click on the “merge” icon « in “Select Buildings” to confirm the building assignments.

Next help article: Managing Buildings →